Starting From the Top: Assembling the Roof for Three Ø17m Silos
Project Overview
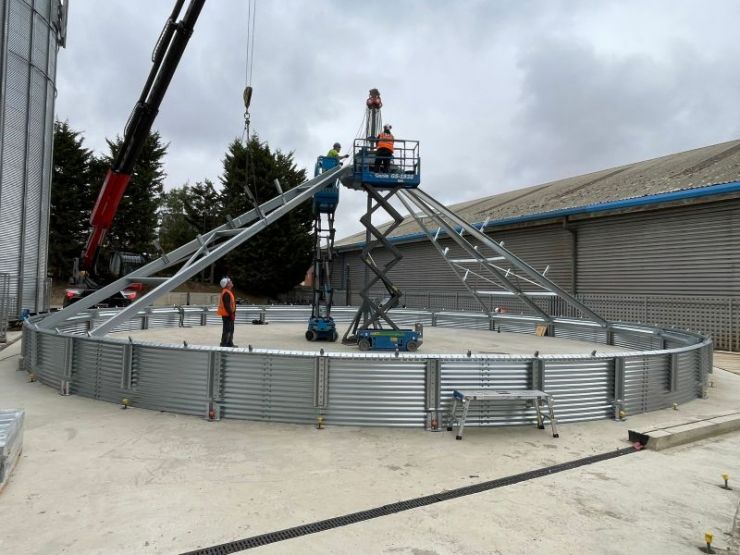
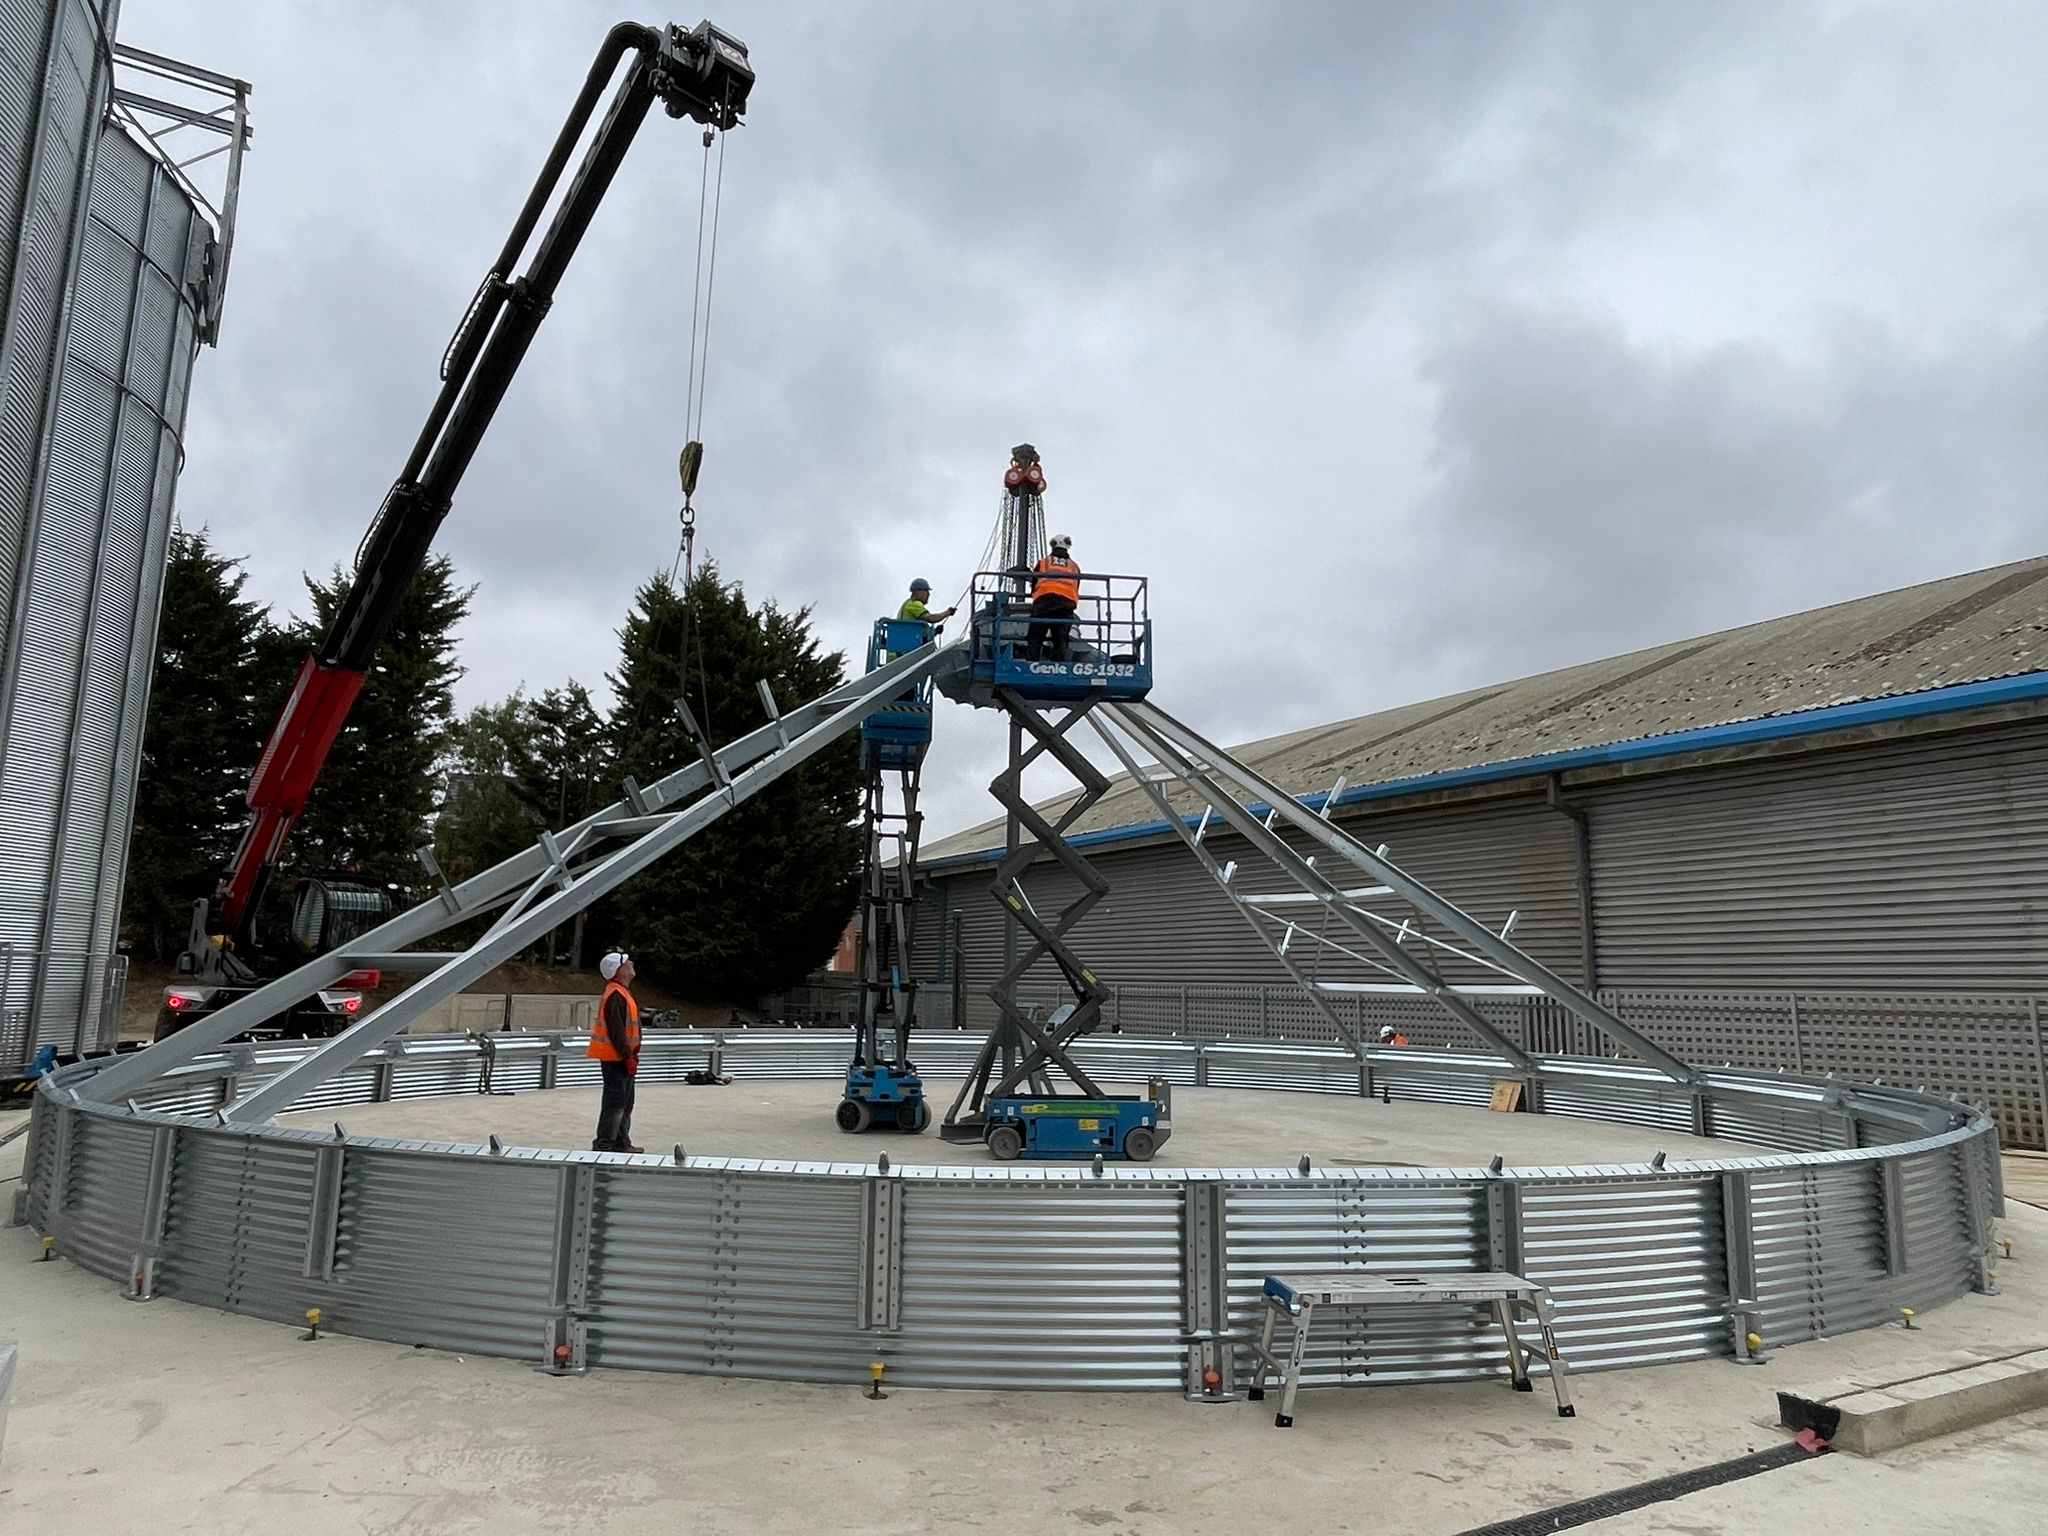
This week, we revisit the first week of our team's ambitious build: the construction of three Ø17m silos, each standing 20 metres high, using a modern mechanical lifting technique. Unlike traditional methods that rely heavily on cranes and scaffolding, this project began from the top — with the roof assembled at ground level and lifted progressively using synchronized electrical jacks.
This approach delivered greater accuracy, improved safety, and a more efficient construction sequence from start to finish.
Week 1 - Silo Build Kick Off
Preparing the Components
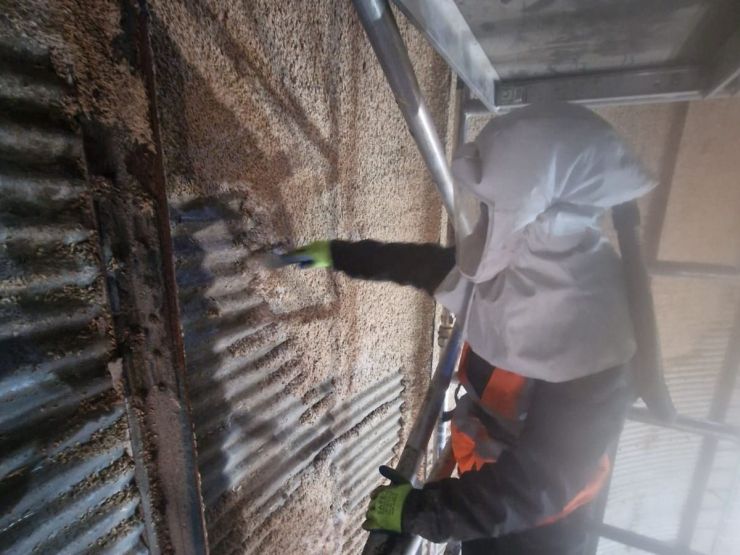
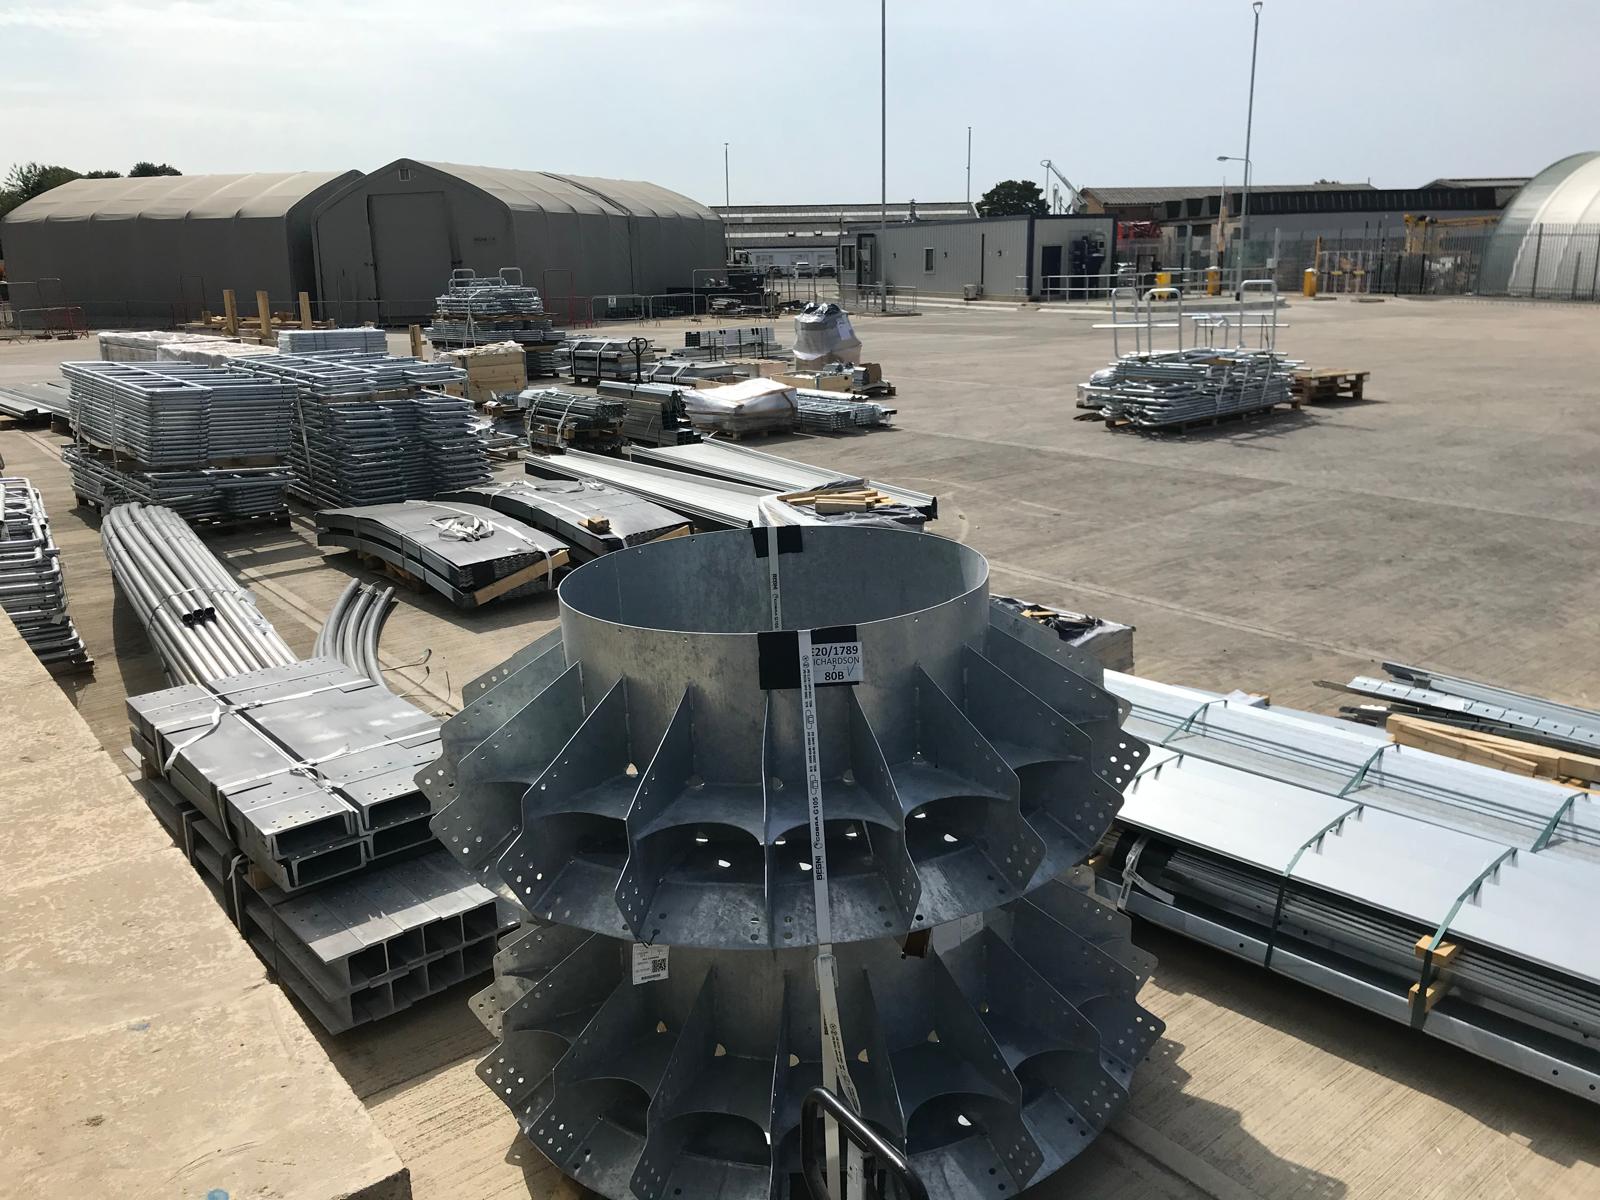
Before assembly work could begin, all structural elements were laid out, organised, and inspected in the designated ground area next to the silo location. This included:
-
Roof panels
-
Rafters and ring beams
-
Fasteners and brackets
-
Tools, lifting accessories, and safety equipment
Each component was checked against the engineering drawings and verified for quality. As mechanical lifting relies on precise alignment at every stage, early checks are critical to ensure stability and structural accuracy later in the build.
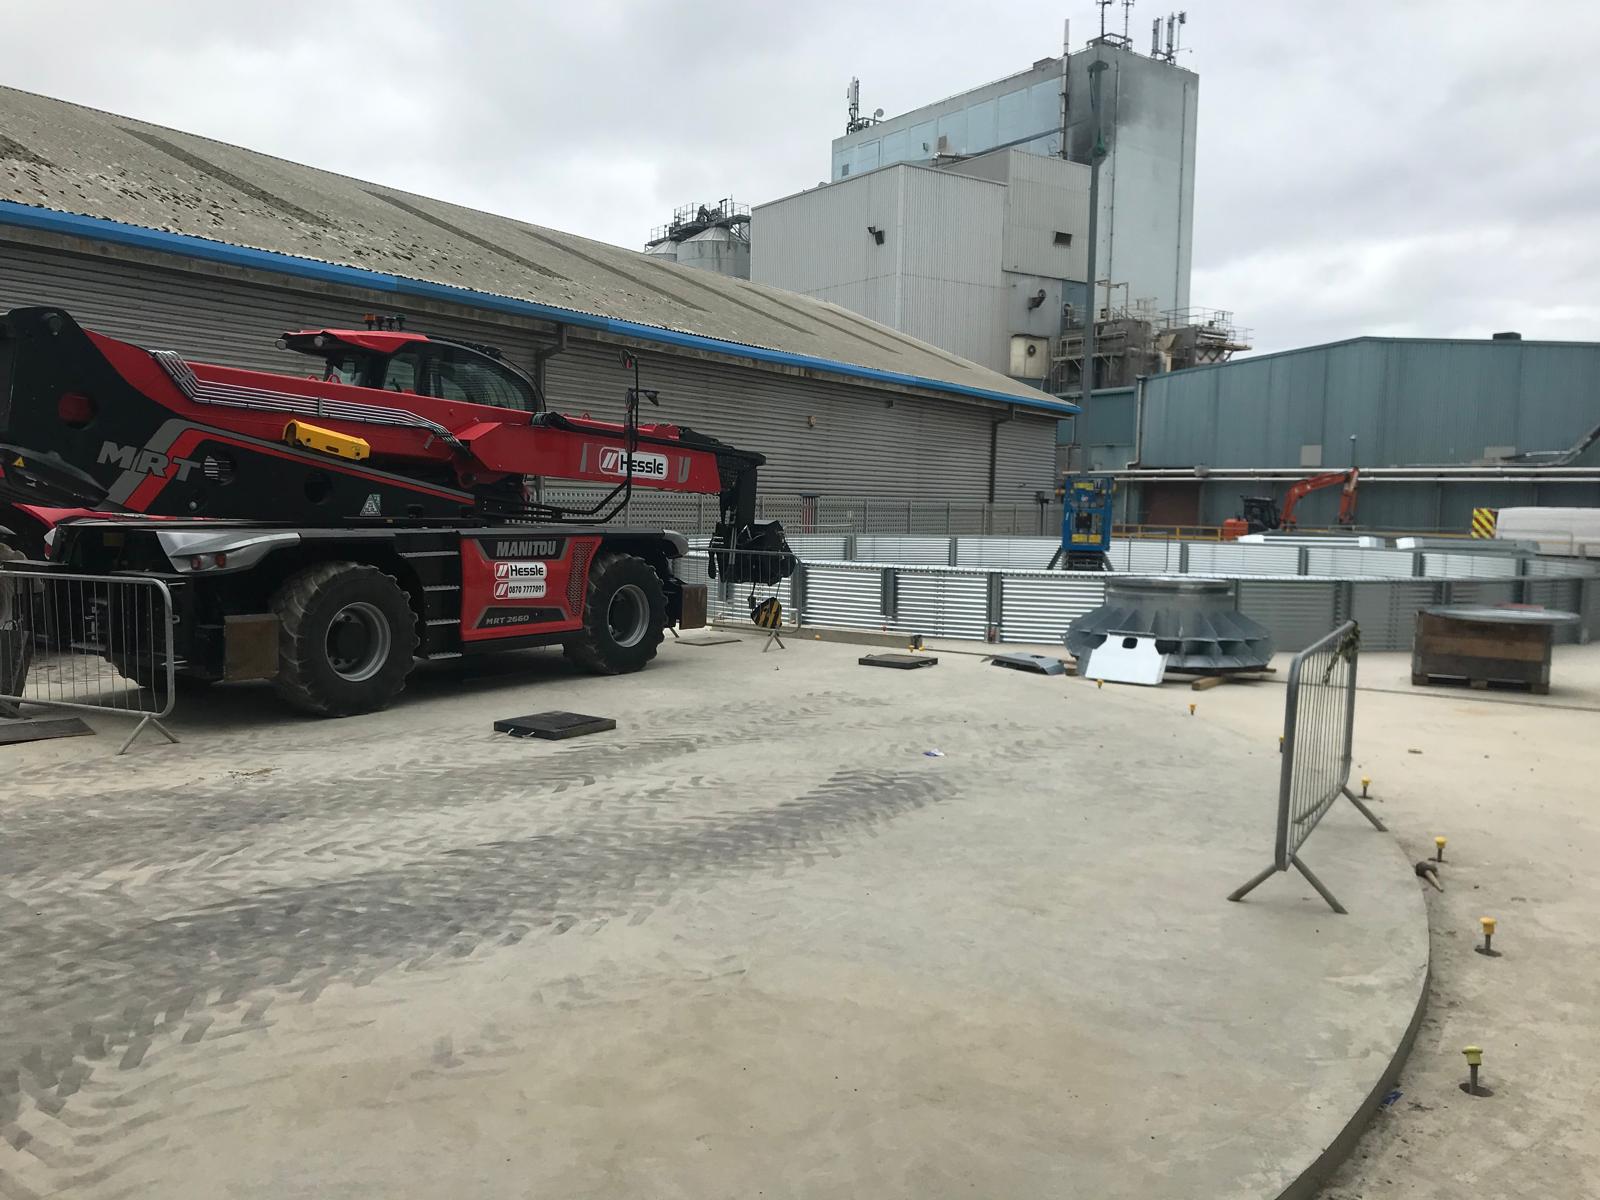
Assembling the Compression Ring
The first major milestone in Week 1 was constructing the compression ring, the circular element that will later sit at the very top of the silo shell.
The ring was aligned, bolted together, and levelled on the ground. This stage is crucial because the compression ring:
-
Defines the roof’s overall geometry
-
Distributes structural loads evenly
-
Sets the alignment for the silo sheets that will rise with the roof
A perfectly level, centred compression ring establishes a stable starting point for the mechanical lifting phases that follow.
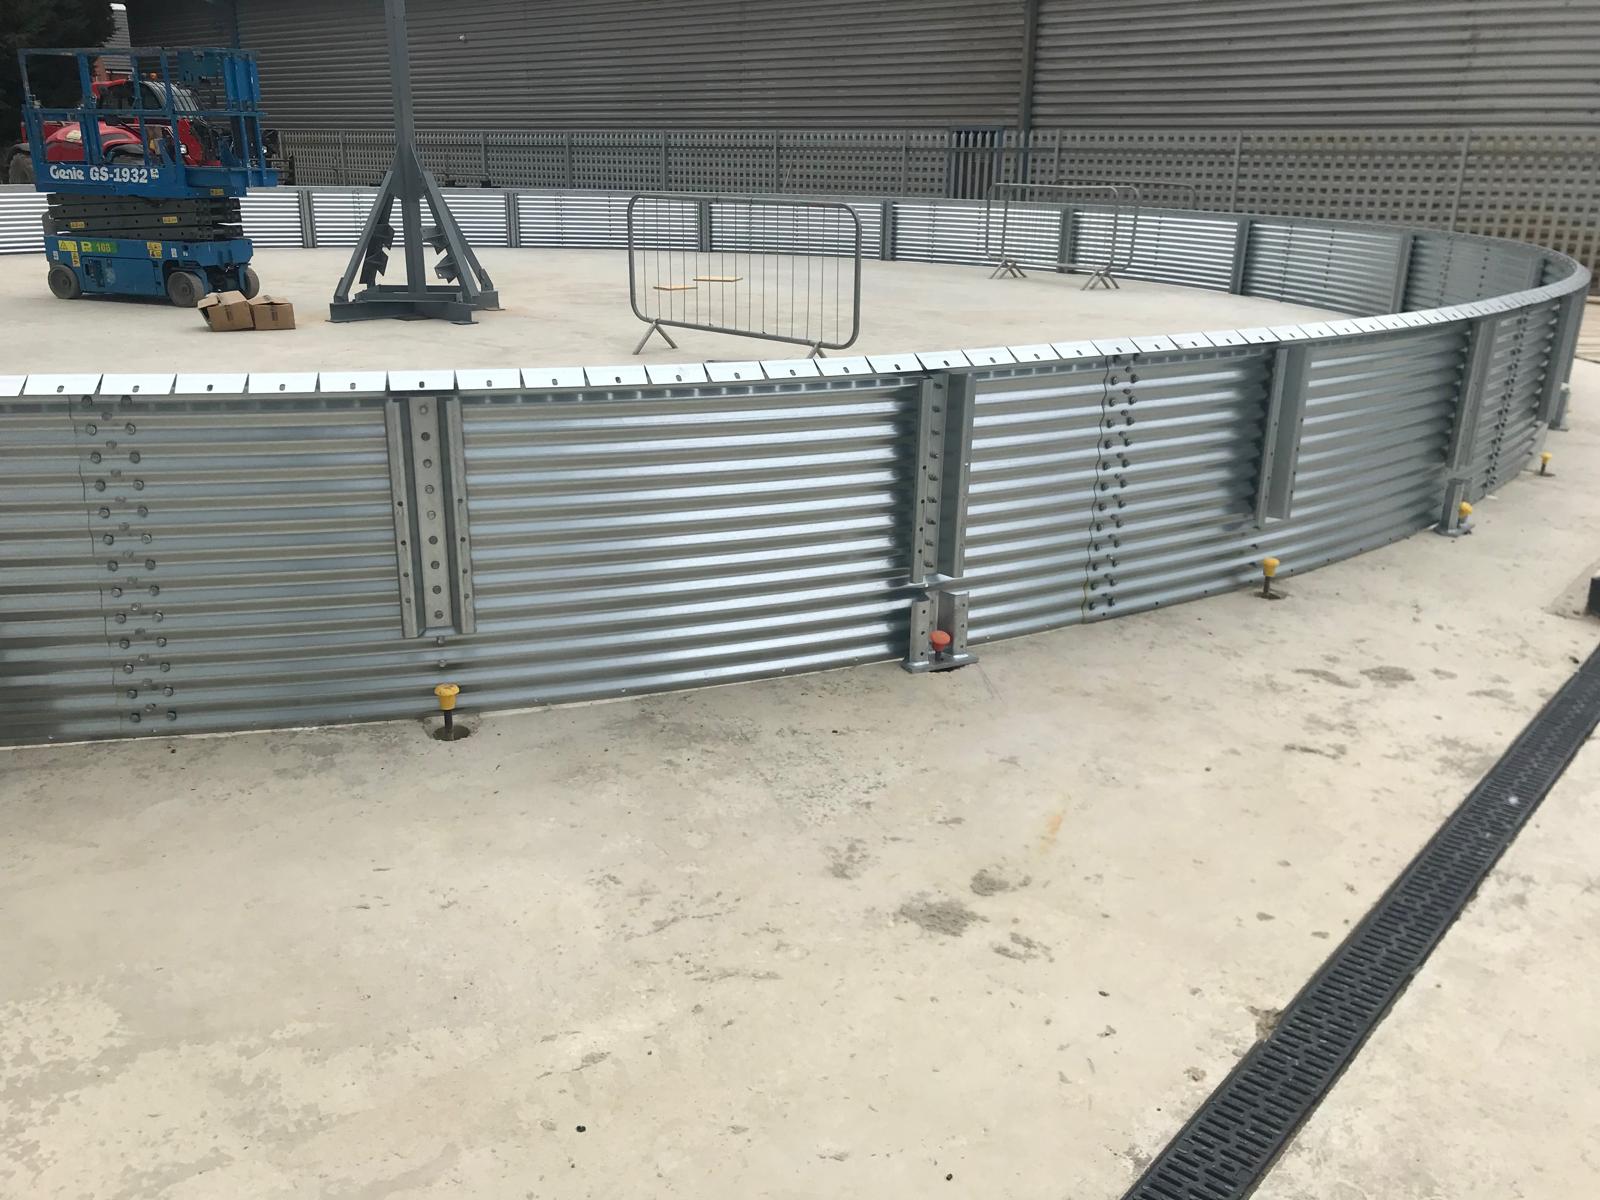
Roof Construction and First Sheet Installation
With the compression ring complete, the team progressed to the roof structure:
-
Rafters were positioned and bolted securely.
-
Roof panels were laid out, aligned, and fixed in place.
-
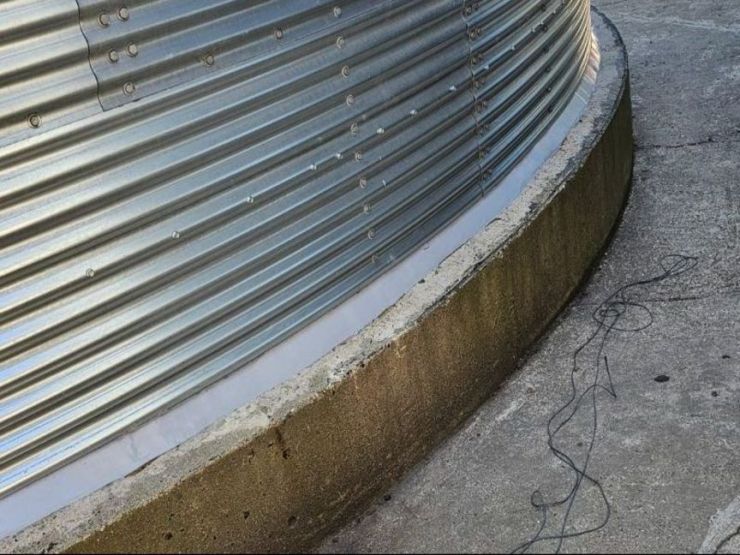
The first set of silo sheets was installed around the roof perimeter.
These initial sheets will lift together with the roof during the first raising sequence. Accurate installation ensures the structure remains balanced and performs correctly when lifted by the electrical jacking system.
Week 1 Summary
By the end of Week 1, the roof assembly for the first silo was complete, and the structure prepared for the next major stage: installing and calibrating the electrical jacks.
This foundational work is vital. The precision achieved during this initial phase directly influences every subsequent lift and alignment check, and ultimately contributes to the long-term performance of the finished silos.
Coming Up in Week 2
Next week’s update will focus on the setup, calibration, and operation of the electrical jacks — the core technology that allowed these silos to rise safely and accurately.
Stay tuned for the next phase of the build.
Tagged in...